Building forms with Angular and Clarity Design
Clarity is an open-source design system for Web UI. The Clarity Design System is built and maintained by VMware. Clarity supports many different frameworks, including Angular, React, Vue, or event just plain JavaScript.
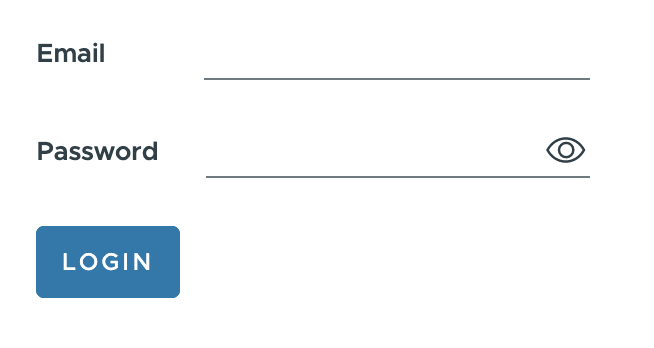
In this post, we will learn how to build a login form with Angular and the latest version of Clarity.

First, you will want to follow the get started guide to install Clarity to your Angular application.
Clarity components are built using Web Components, which allows the components to work in any UI framework. To build our Angular form, we will use the Reactive Forms Module.
import { Component } from '@angular/core';
import { FormBuilder, FormGroup, Validators } from '@angular/forms';
import '@cds/core/forms/register.js';
import '@cds/core/input/register.js';
import '@cds/core/password/register.js';
import '@cds/core/button/register.js';

@Component({
  selector: 'app-root',
  templateUrl: './app.component.html',
  styleUrls: ['./app.component.scss']
})
export class AppComponent {
  form: FormGroup;

  get email() {
    return this.form.controls.email;
  }

  get password() {
    return this.form.controls.password;
  }

  constructor(private formBuilder: FormBuilder) {
    this.form = this.formBuilder.group({
      email: ['', [Validators.required, Validators.email]],
      password: ['', Validators.required]
    });
  }
}
The Reactive Forms Module provides an API to set and get input updates as well as validation messaging. Below is the basic HTML template used to connect our inputs to the Angular form. We can bind the form group and each form control name to the inputs.
<form [formGroup]="form" (ngSubmit)="submit()">
  <label>Email</label>
  <input formControlName="email" type="email" />

  <label>Password</label>
  <input formControlName="password" type="password" value="hello there" />
</form>
While this will enable us to get value updates from our form, let's add some components from Clarity to get the appropriate UI and validation.
<form [formGroup]="form" (ngSubmit)="submit()">
  <cds-form-group>
    <cds-input>
      <label>Email</label>
      <input formControlName="email" type="email" />
    </cds-input>

    <cds-password>
      <label>Password</label>
      <input formControlName="password" type="password" value="hello there" />
    </cds-password>

    <cds-button type="submit">login</cds-button>
  </cds-form-group>
</form>
The cds-input and cds-password components provide the Clarity look and feel but also ensure the accessibility is appropriately set up.
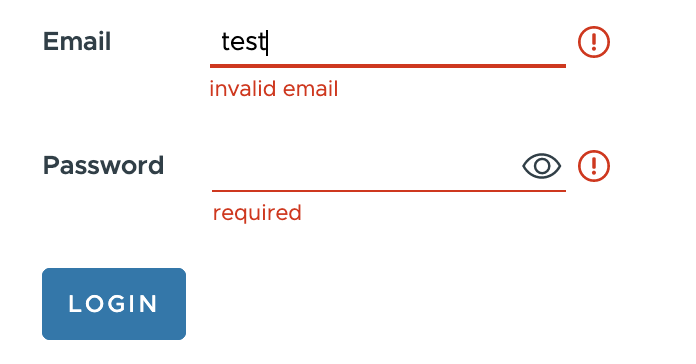
Clarity also provides a component called cds-form-control. This component provides messaging validation.
<form [formGroup]="form" (ngSubmit)="submit()">
  <cds-form-group>
    <cds-input>
      <label>Email</label>
      <input formControlName="email" type="email" />
      <cds-control-message *ngIf="email.touched && email.hasError('required')" status="error">required</cds-control-message>
      <cds-control-message *ngIf="email.touched && email.hasError('email')" status="error">invalid email</cds-control-message>
    </cds-input>

    <cds-password>
      <label>Password</label>
      <input formControlName="password" type="password" value="hello there" />
      <cds-control-message *ngIf="password.touched && password.hasError('required')" status="error">required</cds-control-message>
    </cds-password>

    <cds-button type="submit">login</cds-button>
  </cds-form-group>
</form>
The cds-control-message component has a status property that can be set to success or error. Using *ngIf, we can toggle when the error messages are shown to the user.

Angular has fantastic support for Web Components, and Clarity provides a full suite of UI components for your application needs. Check out the full working demo below!

